Product videos
See Qetaab at work.
35 narrated guides using real screens from sample books. Each one is captioned and has a written transcript, so you can read it as well as watch it.
Free. No card needed. Accountant or bookkeeper? Start through the accountant door.
Choose a video
The library
35 narrated guides in 8 groups, by what you want to do. Choose one to watch it here; each has captions, its length and a written transcript, and its own address to send to someone. Narration uses a synthetic English voice.
Up next
Qetaab in a minute
What Qetaab is, who it is for, and the two free ways in.
Transcript
- This is Qetaab.
- Online accounting for small businesses, and the accountants who work with them.
- There are two ways in.
- One if you run a business, and one if you’re an accountant or bookkeeper.
- It’s free, and you don’t need a card.
- A paid plan will add live bank feeds and AI.
- And an accountant keeps any number of clients’ books, at no charge.
- Your dashboard shows your cash, what you’re owed, and what you owe.
- Send an invoice, and see what’s been paid and what’s still due.
- Bring in a bank statement.
- A line that matches an entry on this bank account, for the same amount and dated within a week, is matched, not booked again.
- Then see where you stand, with reports like profit and loss.
- Your accountant sees every set of books they look after, in one list.
- And a suggested entry waits until a person approves it.
- Your books. Your accountant. One clear record.
No video title has those words. Try another, or clear the box.
Getting started 6 videos
-
What Qetaab is, who it is for, and the two free ways in.
Read the transcript
- This is Qetaab.
- Online accounting for small businesses, and the accountants who work with them.
- There are two ways in.
- One if you run a business, and one if you’re an accountant or bookkeeper.
- It’s free, and you don’t need a card.
- A paid plan will add live bank feeds and AI.
- And an accountant keeps any number of clients’ books, at no charge.
- Your dashboard shows your cash, what you’re owed, and what you owe.
- Send an invoice, and see what’s been paid and what’s still due.
- Bring in a bank statement.
- A line that matches an entry on this bank account, for the same amount and dated within a week, is matched, not booked again.
- Then see where you stand, with reports like profit and loss.
- Your accountant sees every set of books they look after, in one list.
- And a suggested entry waits until a person approves it.
- Your books. Your accountant. One clear record.
-
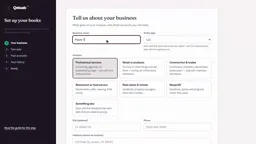
Choose “I run a business”, then set up your books in five short steps.
Read the transcript
- To start free, choose I run a business, and sign in.
- You don’t need a card.
- Then set up your books.
- It takes about five minutes, and you can change any of it later.
- Start with your business name.
- Pick the industry closest to yours.
- Next, when your year starts, and whether you charge sales tax.
- Qetaab suggests the accounts a business like yours usually needs.
- The common ones are already ticked.
- Start fresh, or bring your existing books with you.
- And that’s it.
- You get three next steps: import a bank statement, send an invoice, and reconcile at month end.
- Open your books, and your new dashboard is ready for your first entry.
-
Your dashboard, bank import and invoices: where the everyday work lives.
Read the transcript
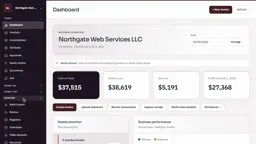
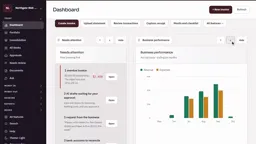
- This is your dashboard.
- Your cash, what customers owe you, what you owe, and your profit this year, all on one screen.
- When a bank statement comes in, go to Banking, then Bank Import.
- Check it’s the right account, then drop the file in.
- And under Money in, Invoices shows every invoice you’ve sent: overdue, open, or paid.
-
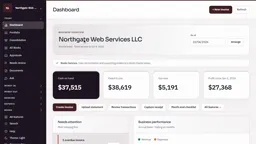
What the dashboard tells you each morning, and where to go next.
Read the transcript
- Start your day here.
- Cash on hand, what you’re owed, what you owe, and your profit so far.
- Glance at the company name first, so you know whose books you’re in.
- Needs attention lists what to look at, most pressing first.
- Choose Open on any item, and you go straight to the screen behind it.
-
Move, hide and bring back the dashboard’s cards, then reset them if you like.
Read the transcript
- You can put your dashboard in the order you work.
- Choose Arrange.
- Each card gets a handle, arrow buttons, and Hide.
- Drag a card by its handle, or use the arrows.
- Here, Business performance moves up one place.
- Don’t need a card?
- Choose Hide, and it leaves the dashboard.
- Hidden cards wait under Show hidden.
- Choose Show, and the card comes back where it was.
- Reset to default puts every card back in the standard order.
- Choose Done when you’re happy.
- Your arrangement is yours, for each set of books.
-
Choose light or dark for yourself, and a company colour for everyone.
Read the transcript
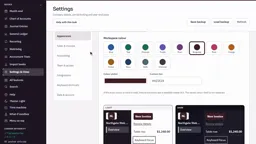
- Appearance lives under Settings and Close.
- Light or dark is your own choice, on this device.
- The company’s logo and colour are for everyone who opens these books.
- Pick a colour from the swatches, or type your own.
- An owner or admin chooses it, in the books online.
- The previews show how it looks, in light and in dark, before you save.
- And if you’d rather work in dark mode, choose Dark.
- The whole workspace switches at once.

Get paid 3 videos
-
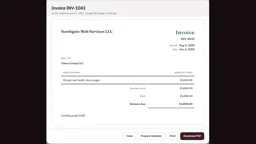
Create an invoice, see it exactly as your customer will, and download the PDF.
Read the transcript
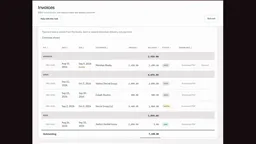
- Your invoices are under Money in.
- They’re grouped by overdue, open, and paid.
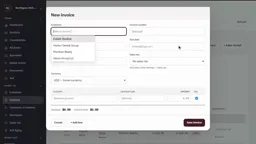
- To bill a customer, choose New invoice, and pick the customer.
- Add a line: the account, and the amount.
- A memo tells your customer what it’s for.
- Save it, and there it is in the list, marked open, with the balance still due.
- Open it to see the invoice exactly the way your customer will.
- And Download PDF gives you a file you can send any way you like.
-
Open, overdue, part paid and paid: what each one means for your next step.
Read the transcript
- Your invoice list shows where each invoice stands: open, overdue, part paid, or paid.
- Look at what’s still owed next to the due date.
- The status tells you who to follow up with.
- It doesn’t collect the money for you, so that next step is yours.
-
See the original charge and what is still due when a customer pays part.
Read the transcript
- When a customer pays part of an invoice, you still see the full charge, and what’s left to pay.
- Before you record another payment, check it’s the right customer and the right invoice.
- Follow the balance that’s still due.
- Each payment counts against that one invoice, not as a new sale.
Pay bills 3 videos
-
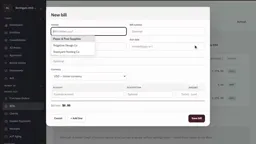
Enter a supplier bill, pay it by check, and print from the queue.
Read the transcript
- Supplier bills are under Money out, with what’s open and what’s paid.
- When a bill arrives, choose New bill.
- Add the vendor, the expense account, and the amount.
- Save it, and it’s in the list as open.
- To pay it, choose Pay bills.
- Put the amount against the open bill, and pay it by check.
- The check waits in the print queue, with any others ready to go.
- Tick the ones you want, and print them.
- Then Qetaab asks if they printed correctly.
- The check numbers wait until you say yes.
- If the paper jammed, say no, and the checks wait to print again.
- Once they’ve printed, the checks take their numbers.
- You’ll find each one on the Write checks tab, with Reprint and Void beside it.
-
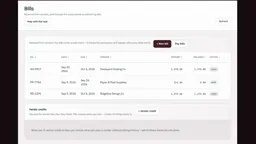
Your supplier bills with their due dates and what is still unpaid.
Read the transcript
- Here are your supplier bills, with their due dates and what’s still unpaid.
- Before you pay one, check the vendor and the paperwork behind it.
- Keep each payment linked to its bill.
- Then what you still owe is easy to follow.
-
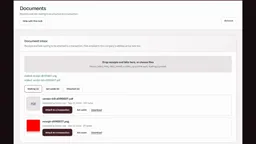
Receipts and bills waiting in the Documents inbox, matched to the record they support.
Read the transcript
- The Documents inbox holds your paperwork until it finds its place in the books.
- Open a file and choose the transaction it belongs to.
- Attach it to that record.
- Or, if it doesn’t belong there, set it aside and say why.
Bank 3 videos
-
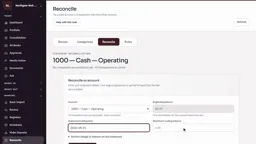
Match your books to the statement, and finish when the difference is zero.
Read the transcript
- To reconcile, go to Banking, then Reconcile.
- Choose the account that’s on your statement.
- Type the statement’s ending date, and its ending balance.
- Start reconciling.
- Every payment and deposit up to that date is listed, each with a box to tick.
- Tick what’s on the statement.
- The difference tells you how far apart you are.
- Here, the ending balance was typed wrong.
- Put in the right figure from the statement, and the difference is zero.
- Now you can finish.
-
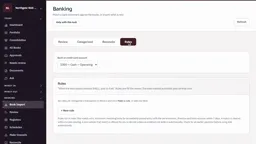
A rule that fills in matching statement lines, and when to keep it review-first.
Read the transcript
- Bank rules save you time on lines you see every month.
- You’ll find them in Banking, on the Bank Import screen.
- Open the Rules tab.
- A rule fills in the review for you.
- And a line that matches an entry for the same amount, dated within a week, is matched, not booked again.
- Choose New rule, and say what the line looks like, and where it should go.
- Leave Add automatically unticked if you’d rather check each one first.
-
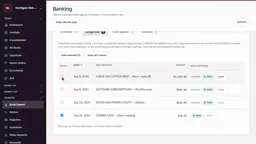
Take back lines you have already handled, without deleting any history.
Read the transcript
- The Categorized tab shows the bank lines you’ve already handled.
- Some were matched to entries you had; one was posted as a new entry.
- To take some back, tick just those lines.
- Qetaab tells you exactly what will happen before it does anything.
- A posted entry is reversed, never deleted.
- Confirm, and the lines go back to your review list, ready for another go.
Reports 7 videos
-
Income statement, balance sheet and cash flow: what each one tells you.
Read the transcript
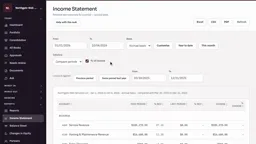
- The income statement shows your revenue, your costs and your expenses.
- Check the dates at the top first.
- At the bottom is your net income: what’s left.
- The balance sheet is a snapshot of one day.
- What you own equals what you owe plus your equity.
- And the cash flow explains how you got from your opening cash to your closing cash.
-
Put two periods side by side, or read the year month by month.
Read the transcript
- Totals only shows the one period you picked.
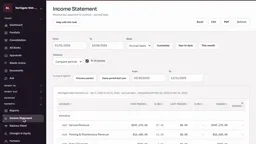
- Choose Compare periods to see two side by side, with the change between them.
- Check both date ranges before you read it.
- Or choose By month, and read the whole year a month at a time.
-
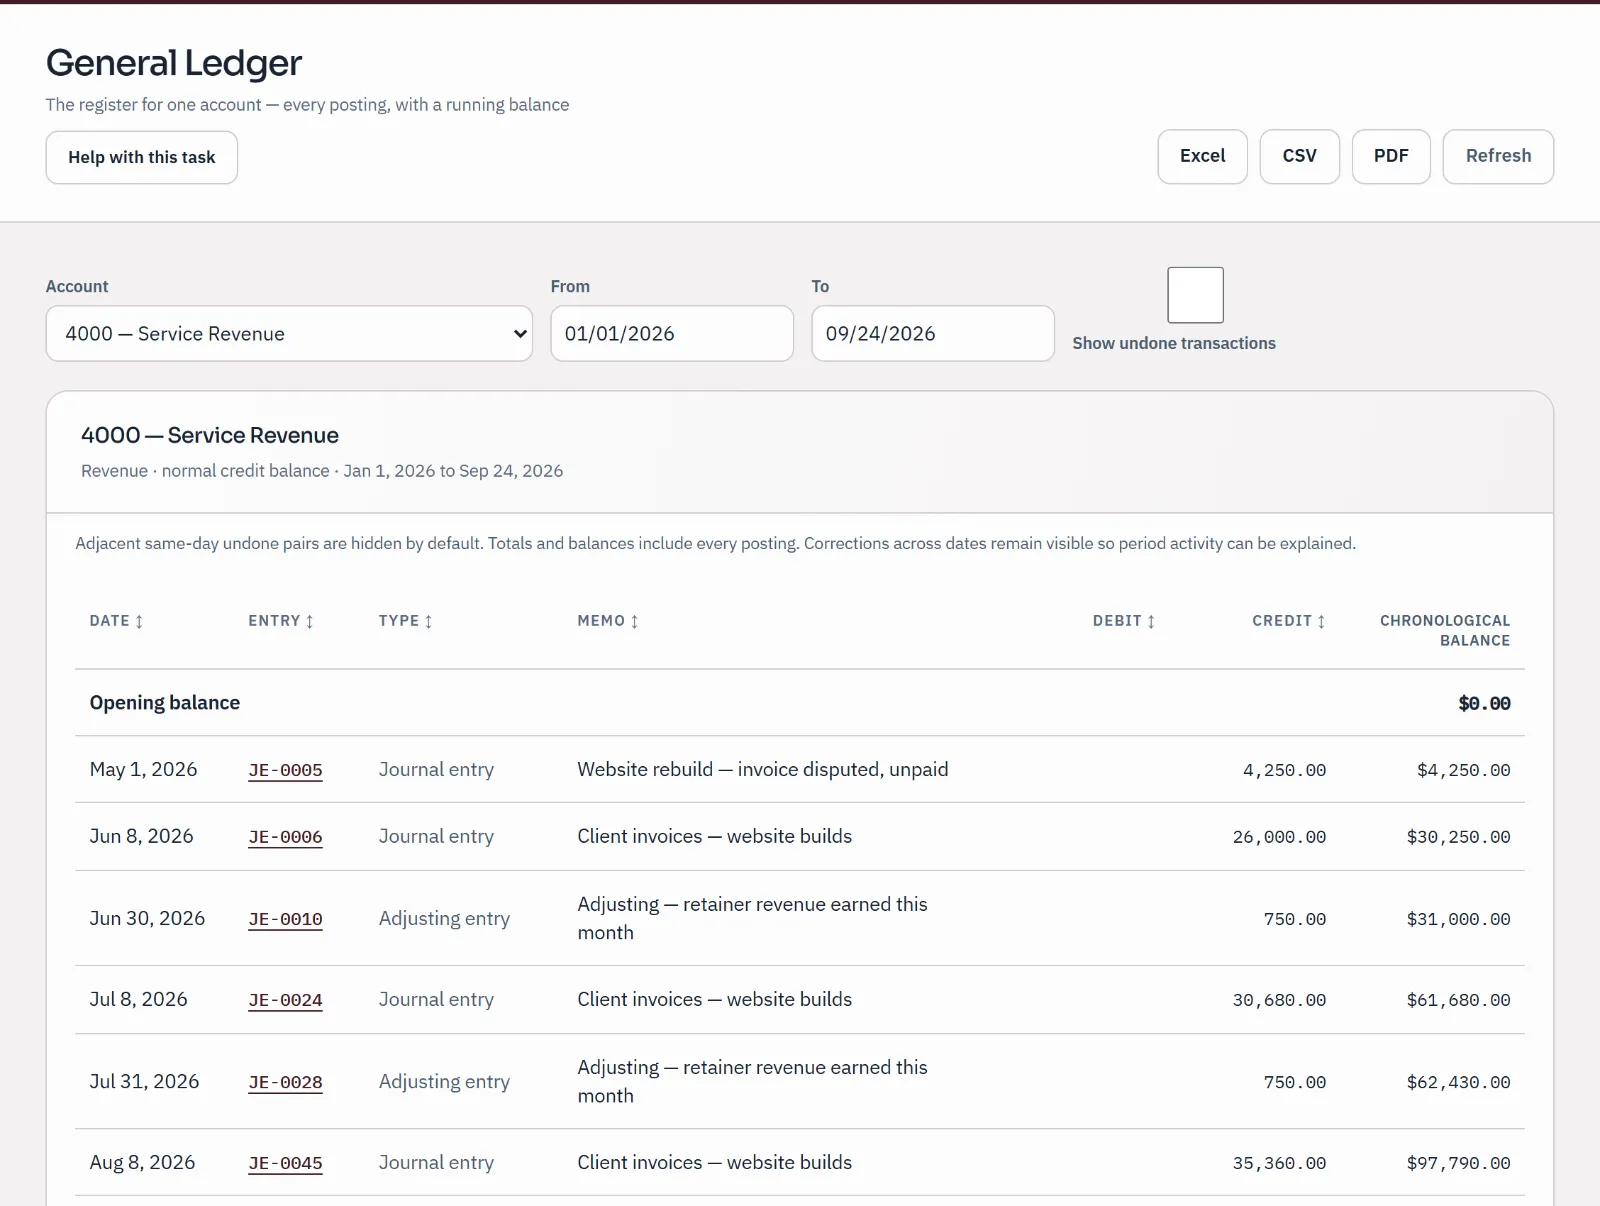
From the reports catalogue to the ledger lines behind a figure.
Read the transcript
- Every report is in one place, under Reports.
- Open a statement, and find the figure you want to look into.
- Choose it, and the general ledger opens on the entries behind it, for the same dates.
-
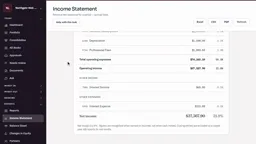
Revenue, cost of revenue and expenses on one statement, for the period you choose.
Read the transcript
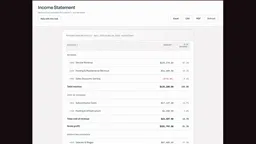
- Check the period at the top before you read the income statement.
- Then read revenue, cost of revenue and operating expenses together.
- It shows what’s been recorded.
- A bill or a receipt nobody entered isn’t in it yet.
-
What you own, what you owe and your equity, on one date.
Read the transcript
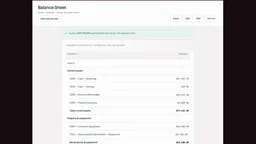
- A balance sheet shows where you stand on one date.
- It isn’t your sales over a period.
- Check the as-of date, then read assets, liabilities and equity.
- The balancing check is handy.
- But it doesn’t replace looking at the records underneath.
-
Save the filters you use often, and come back to them in one click.
Read the transcript
- A saved search takes you straight back to the filters you use most.
- Check the date, contact and amount filters before you read the results.
- Save a view that’s useful, and your next review starts from the same question.
-
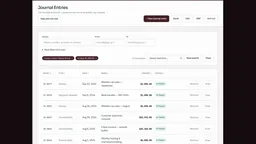
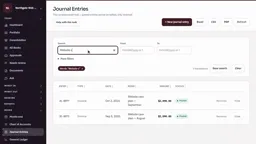
Open an entry to see its account lines, memo, date and where it came from.
Read the transcript
- Every posted entry is in Journal Entries.
- Search for the one you want.
- View it, and you see all its account lines together, balanced.
- Below, where it came from, and whether anyone has reviewed it.
- A posted entry can’t be edited; to correct it, you post a reversal.
Stock 8 videos
-
Receive a purchase order, then pick, pack and dispatch a sales order.
Read the transcript
- When a delivery arrives, receive it against the purchase order.
- Scan or type what came in, and choose the bin.
- Receive and bill.
- The stock is in, and the supplier bill is created for you.
- To send an order out, open it and start a pick list.
- Scan each item as you pick it, then confirm.
- Pack it.
- Picking and packing don’t post anything.
- Dispatch is the step that counts.
- It creates the invoice, and the sale, the cost of goods and the stock leaving all happen now.
- And the order shows as shipped.
-
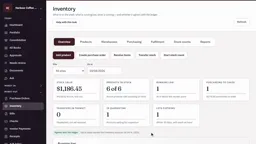
Stock value, the check against your books, and what is running low.
Read the transcript
- Start with the inventory overview.
- This badge says your stock value agrees with the inventory account in your books.
- Running low lists what’s at or below its reorder point, counting what’s already on order.
- And the reports show every product by site, bin, lot and status, before you decide what to order or move.
-
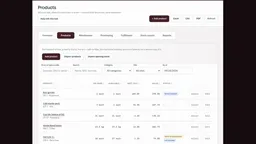
Quantities, availability and stock value for each product, side by side.
Read the transcript
- The product list shows quantities, what’s available, and stock value together.
- On hand and available aren’t the same when some units are set aside for orders.
- Check the product and how it’s tracked before you make a stock decision.
-
Where each product is held, and what state it is in.
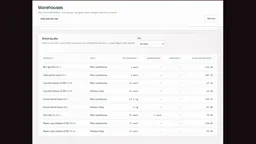
Read the transcript
- Stock by site shows you where everything is held.
- Look at each location and its status, not just one combined number.
- Quarantined and incoming units are shown apart from the stock you can use today.
-
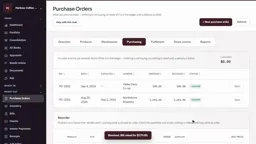
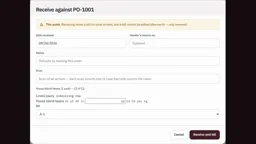
Check what actually arrived against the purchase order before you receive it.
Read the transcript
- Before you receive a delivery, check the purchase order against what actually arrived.
- Receiving it creates the supplier bill.
- So check the units and the product carefully.
- A scan tells you what was scanned, not that the delivery is right.
-
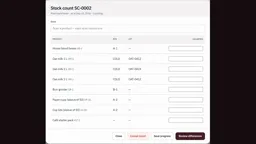
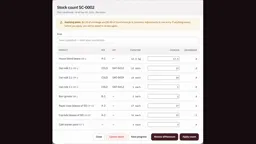
A blind count: record what you find, without the expected figure in view.
Read the transcript
- A blind count asks you to write down what you actually find on the shelf.
- Check the site, the bin and the product before you enter a number.
- The expected figure is hidden from whoever’s counting.
- So the count reflects the shelf, not a copied number.
-
Expected and counted side by side, and the review before a count is applied.
Read the transcript
- The review screen puts what you expected and what you counted side by side.
- Look into any difference before you apply the count.
- If your company needs an approval, someone independent reviews it before it posts.
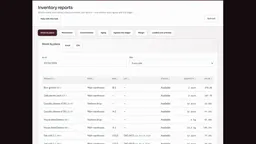
-
Stock by product, site, bin, lot and status, in one report.
Read the transcript
- This report breaks your stock down by product, site, bin, lot and status.
- It answers two questions: where are the units, and which ones can you use?
- One combined total can’t explain a quarantine, or a difference between locations.
Your accountant 4 videos
-
The accountant’s door, the list of every set of books you can open, and how client books reach you.
Read the transcript
- If you’re an accountant or bookkeeper, choose that door, and sign in.
- It’s free, with no card.
- Your practice, and any number of clients’ books, at no charge.
- All Books is where you work from.
- Every set of books you can open, with the ones that need you first at the top.
- Choose Client books to see only your clients.
- These sample books have none yet, so the list is empty.
- Open any set of books, and you’re straight into its dashboard.
- To see how a client’s books reach you, search the help for accountant.
- A business invites you, or you set the books up for them.
- Either way, your practice opens a client’s books from Your clients, in its own settings.
-
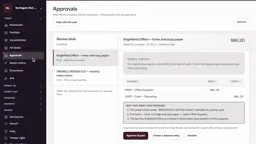
Read the reasoning behind a prepared draft, then approve it: nothing posts on its own.
Read the transcript
- Approvals is your review desk.
- Each draft waits here, with its evidence beside it.
- Read the account lines, and why the draft was prepared.
- If it’s right, choose Approve and post.
- The desk moves on to the next one, and the pending count goes down.
- Recently decided keeps the history: what was proposed, and what a person did about it.
-
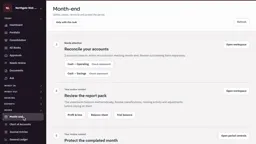
Work through the month-end checklist, then lock the period.
Read the transcript
- Month-end walks you through the steps, starting with your statements.
- Each step tells you where it stands: check passed, needs attention, or your review needed.
- When you’ve reported on a month, lock it.
- The period lock is under Settings and Close, Accounting.
- Choose the last day, and apply the lock.
- While it’s locked, ordinary postings dated on or before that day are refused.
- An owner or admin can remove the lock.
-
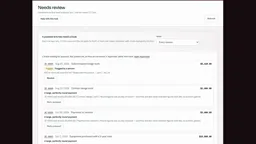
Transactions that need a closer look, each with its reason and a note when resolved.
Read the transcript
- The review inbox gathers the transactions that need a closer look.
- Read why each one is there, and look at where it came from.
- When you resolve it, leave a clear note, so the next person knows what you checked.
Several businesses 1 video
-
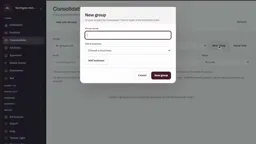
Put two or more businesses in a group, and read their statements together.
Read the transcript
- Own more than one business?
- Consolidation shows them together.
- Choose New group, and give it a name.
- Add the businesses.
- The order you list them in is the order on the statements.
- Save the group.
- Choose the dates, and the group’s statements appear.
- Balances between your own businesses can be marked, so they come out.
- The consolidated balance sheet puts each business side by side, then the combined total.
- And the consolidated income statement does the same for revenue and expenses.
Help centre
Prefer to read? Search the guides.
Step-by-step guides for everyday work, each showing when its steps were last checked in the app.
Type to search every guide, or browse them all.
Next step